From Overgrown and Unsafe to Outdoor Oasis
Just bought a fixer-upper with a wild, unsafe yard? Learn how to clear overgrowth, remove old pools and decks, fix drainage, and plan phased outdoor upgrades.
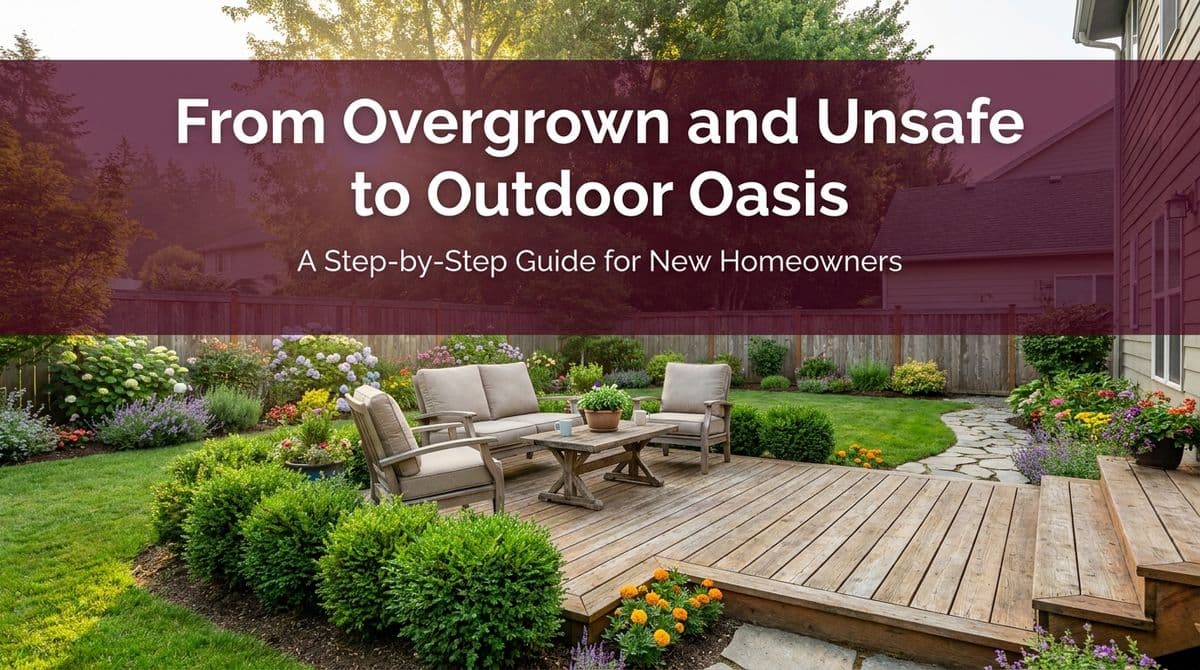
From Dangerous Jungle to Outdoor Oasis
We recently got a call from a new homeowner — let’s call her Amanda — who had just bought a real fixer-upper. Inside, she had big renovation plans. Outside? She described the yard as “really in bad shape” and “candidly, dangerous.”
There were great bones: mature trees, a big lawn area, and plenty of space. But there was also an old above-ground pool with a worn deck wrapped around it, serious overgrowth everywhere, and some drainage and grading problems flagged by her home inspector. On top of that, she wanted to eventually rent the property out, so functional outdoor space was going to be a big part of the long-term plan.
If that sounds familiar, you’re not alone. We see this all the time with fixer-uppers: the yard has been ignored for years, and the new owner needs to go from “overgrown and unsafe” to “outdoor oasis” — ideally in smart, manageable phases.
Here’s the step-by-step approach we walked Amanda through, and the same framework we use when we come out to look at a property like hers.
Step 1: Make the Yard Safe and Accessible
Before you dream about patios, fire pits, and rental listings, the first priority is simple: make the yard safe and walkable. When a yard is wildly overgrown, you can easily have:
- Hidden tripping hazards (old stumps, rocks, broken concrete)
- Rotten deck boards or stairs you can fall through
- Unseen holes from burrowing animals
- Low-hanging or dead branches that can come down in a storm
With Amanda, our first “phase one” recommendation was a cleanup and visibility pass so she could finally see what she was working with.
What a Good Cleanup Phase Includes
For heavily neglected yards, we usually start with:
- Brush and weed clearing: Cut back tall grass, invasive vines, and volunteer saplings.
- Tree safety check: Identify dead or hazardous limbs and any trees too close to the house or power lines (this is often a separate, specialized tree crew).
- Debris removal: Old fencing, broken furniture, random junk, and buried trash come out.
- Basic lawn reclaiming: Mowing high, then gradually bringing the grass down to a normal height if there’s lawn to save.
Once this is done, you can finally walk the property without worrying about twisting an ankle or walking through poison ivy, and we can start planning next steps intelligently.
Step 2: Safely Remove Old Structures (Pools, Decks & More)
Amanda had an old above-ground pool with a deck wrapped around it. The inspector had already told her that area would need regrading, which meant the pool and deck had to go. That’s a common situation with fixer-uppers.
Above-Ground Pool Removal Basics
For above-ground pools, the process typically looks like this:
- Drain the pool safely and legally (you may need to direct water away from the house and neighbors).
- Disassemble the pool walls and liner, cut them down, and dispose of them properly.
- Remove any concrete pads or pavers if they interfere with future grading or design.
- Backfill and compact the area if there’s a depression where the pool was.
This is not usually a DIY job if you’re dealing with electrical connections, gas lines (for heaters), or lots of metal; it’s worth having a pro at least assess it.
Old Deck and Structure Removal
Decks, sheds, and other structures around the pool or along the house can hide bigger issues. With Amanda, we talked about how removing the pool deck would also give us a chance to:
- Check for rot and insect damage near the house
- Expose grading issues that send water toward the foundation
- Open up possibilities for a future patio or lower-maintenance hardscape
When you remove old structures, think beyond “tear it out” and use it as a chance to reset the area properly for long-term use.
Step 3: Fix Drainage and Grading Before Anything Pretty
Amanda’s inspector had already flagged drainage and grading problems, which is extremely common. It’s not glamorous, but if you skip this step, every dollar you spend on landscaping and hardscaping will be at risk.
Signs You May Have Drainage or Grading Issues
- Water pooling near the house after rain
- Muddy, unusable areas that never seem to dry
- Basement dampness or musty smells
- Erosion lines in the yard or exposed roots
Our general rule: the ground should slope away from your house for at least several feet. If it doesn’t, we regrade to create positive slope, and in some cases add:
- French drains or swales to move water through the yard
- Dry wells or rain gardens in low spots
- Downspout extensions to get roof water away from the foundation
Doing this right at the beginning protects your foundation and gives you a dry, usable canvas for patios, play areas, or lawn.
Step 4: Plan Your Phased Outdoor Makeover
Amanda was clear: her vision included hardscaping and landscaping and a yard that worked for her family now and as a future rental. But it didn’t all need to happen at once. That’s where phasing comes in.
Phase 1: Function and Bones
Once things are safe, cleared, and draining properly, we like to install the “bones” of the yard first:
- Primary hardscapes: main patio, walkways, and any retaining walls
- Access and parking: drive edges, paths to entries, and steps
- Utility areas: clear zones for trash cans, sheds, and storage
If you plan to rent the home, think about durability: pavers, stone, or concrete patios generally outlast decks and require less maintenance from guests.
Phase 2: Greenery and Comfort
After the hard surfaces go in, you can layer in:
- Foundation plantings that won’t block windows or crowd walkways
- Shade trees and screening for privacy between you and neighbors
- Lawn or low-maintenance groundcovers in the main use areas
- Outdoor lighting for safety and rental appeal
For a future rental, we usually steer clients toward tough, low-maintenance plants that can handle occasional neglect: think native shrubs, ornamental grasses, and perennials rather than fussy annual beds.
Step 5: Design for Flexible, Real-Life Use
Because Amanda wanted both family use and future guests, we talked about creating zones rather than one big undifferentiated lawn:
- A main entertaining zone (patio with dining and grill)
- A relaxation zone (fire pit, seating, or hammock area)
- A play or open lawn area for kids, pets, or yard games
When you’re planning, ask yourself:
- Where does the sun hit in the morning vs. evening?
- Where do you naturally walk now — can we turn that into a path?
- What will a short-term renter actually use and appreciate?
Build the core spaces first, and you can always add details — garden beds, seating nooks, or a small water feature — as time and budget allow.
Before You Call a Pro: What Helps Us Help You
Just like we suggested to Amanda, there are a couple of things you can gather before a site visit that make the process smoother:
- Inspector’s notes about drainage or structural concerns
- Photos or a simple sketch of your yard with rough measurements
- Your wish list: must-haves now vs. “someday” ideas
- Any rental plans or local requirements if you’ll be hosting guests
From there, we can walk the property with you, prioritize safety and drainage, and then map out a realistic, phased plan to turn your neglected yard into an outdoor oasis that actually works for your life.